VALENTINE CARDBOARD BOX BUS
Photography by Karlie Colleen
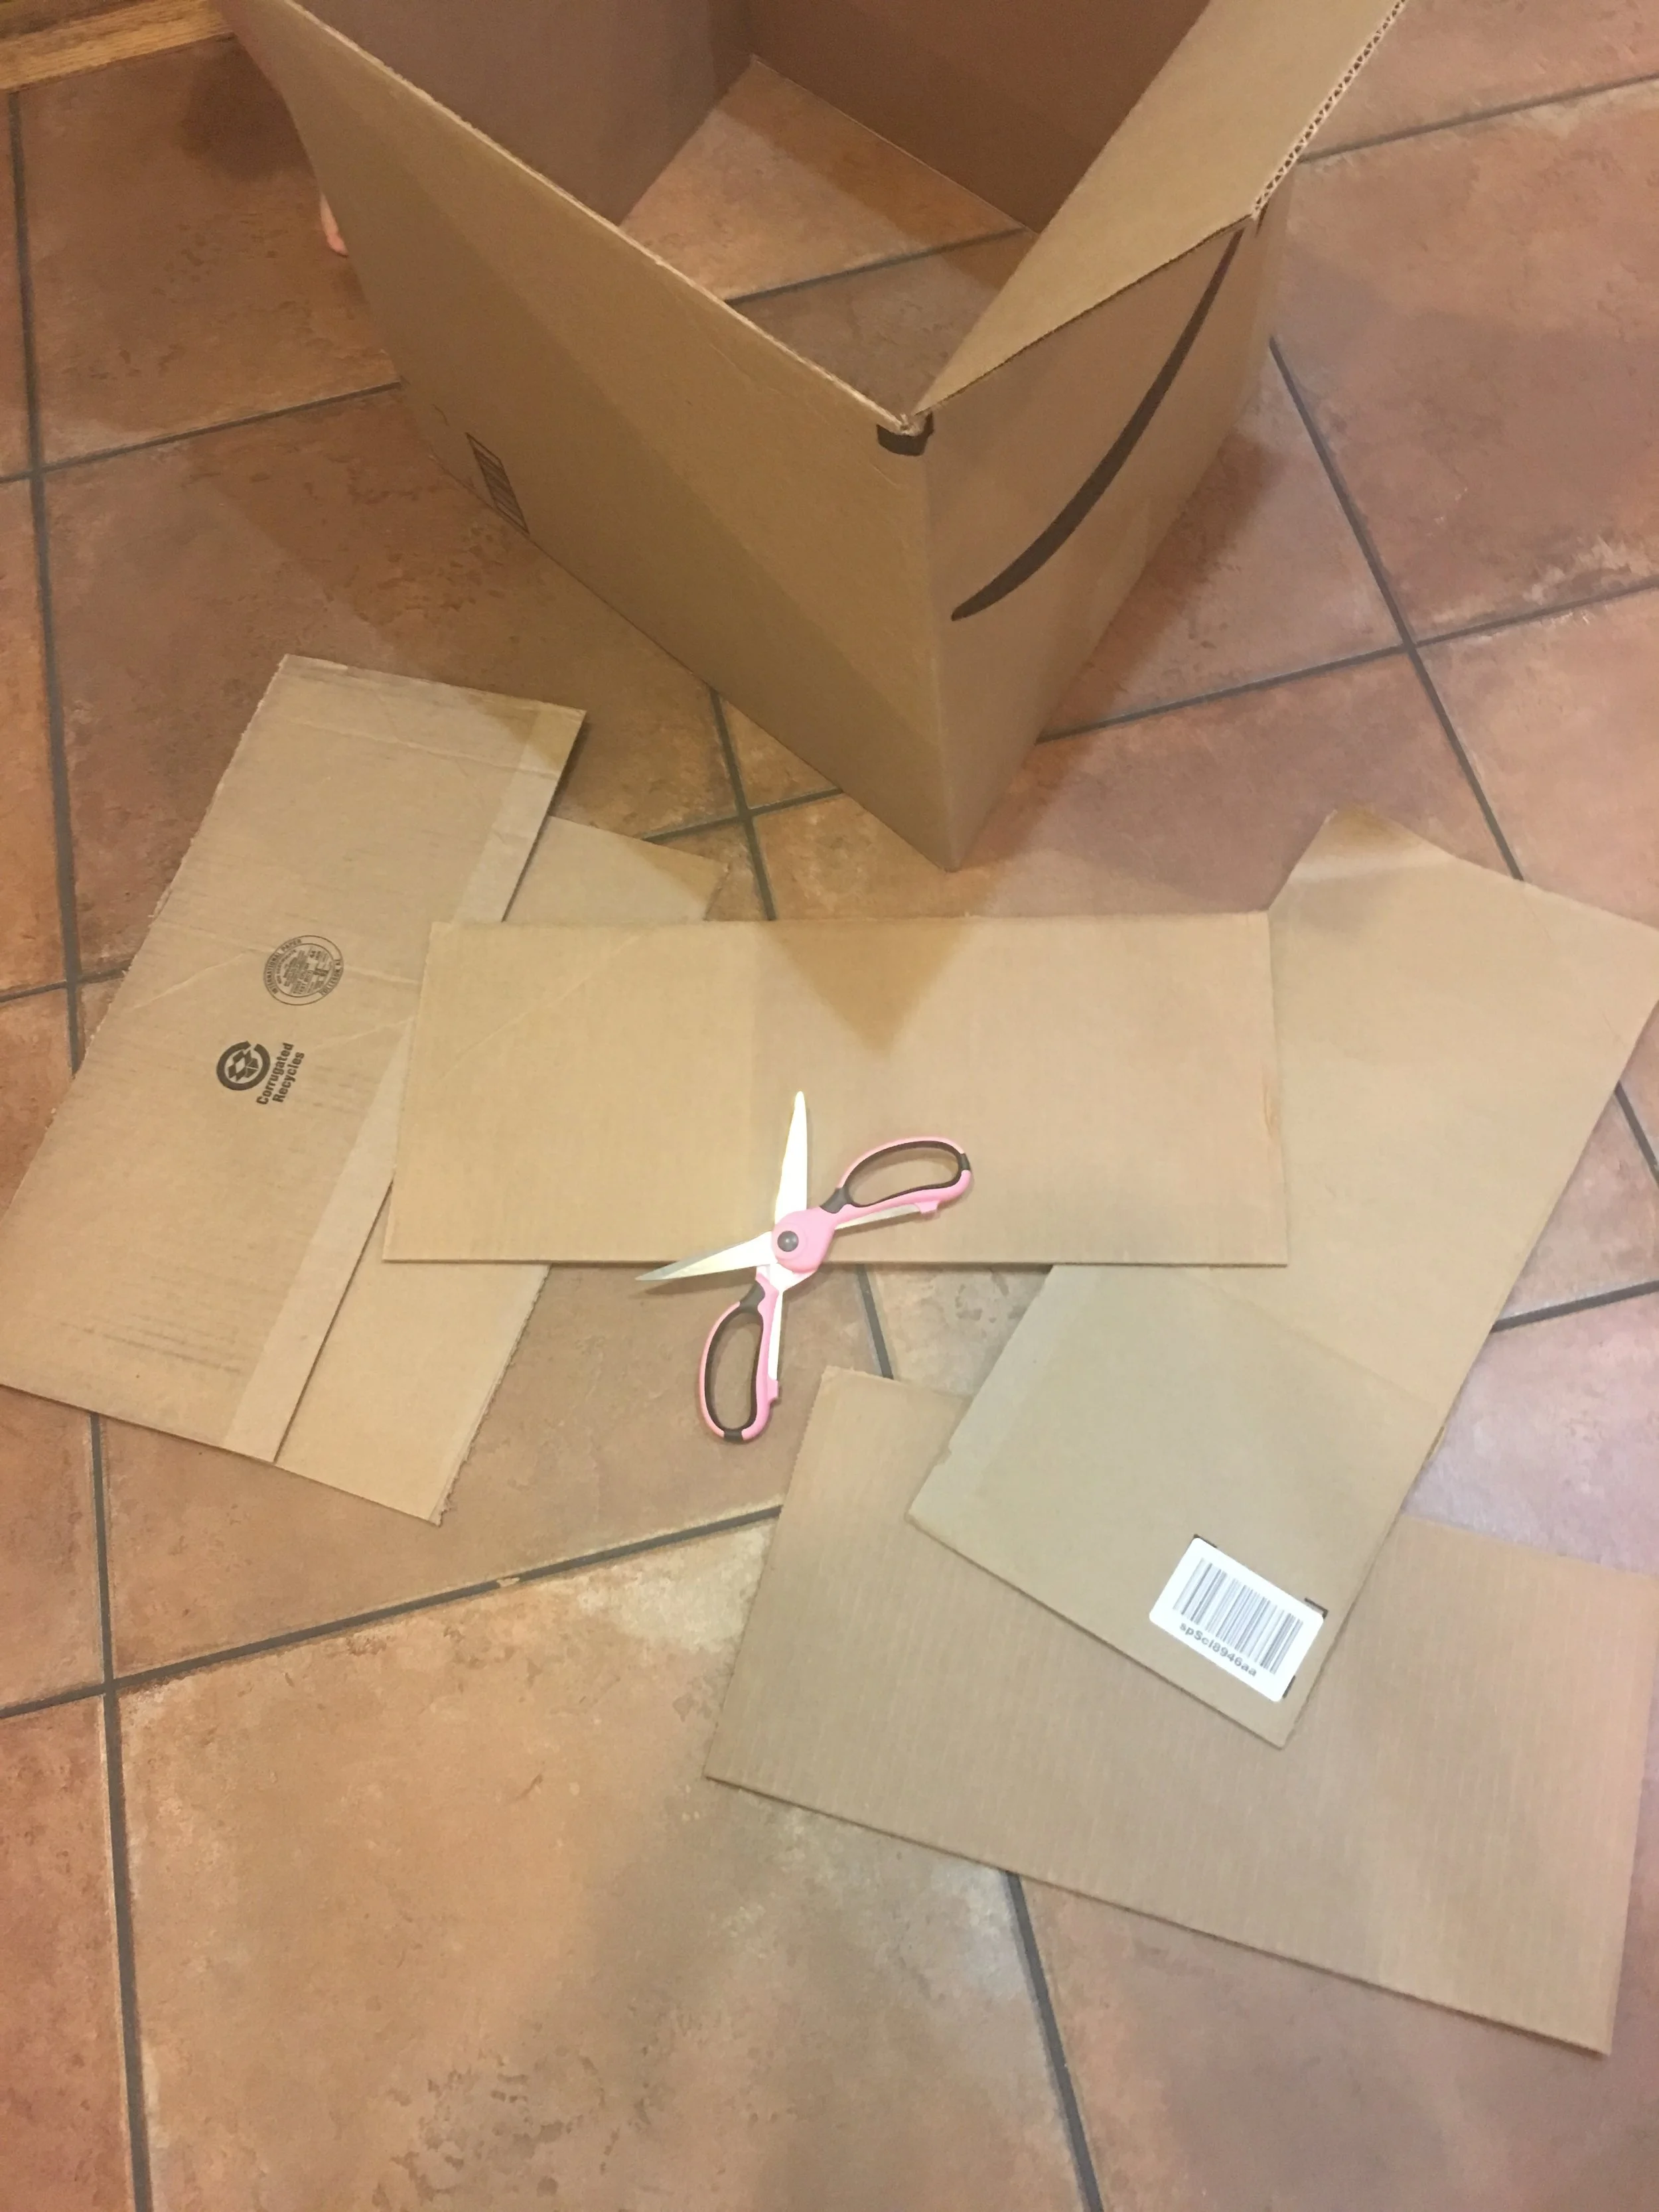
I get amazon deliveries all the time, and that means HUGE cardboard boxes at my doorstep filled with diapers, wipes, you name it! I spend so much time breaking down these boxes to fit in our recycle bin; but this past month I decided to keep it and do something fun!
The box I started out with. I wish I hadn't cut off all the flaps that close the lid
WHAT YOU'LL NEED:
- 1 large cardboard box
- scissors
- box cutter
- white spray paint
- pink paint (or any color you want for body of the car)
- black paint
- tin foil for headlights
- hot glue gun
- clear packaging tape
LET'S GET STARTED
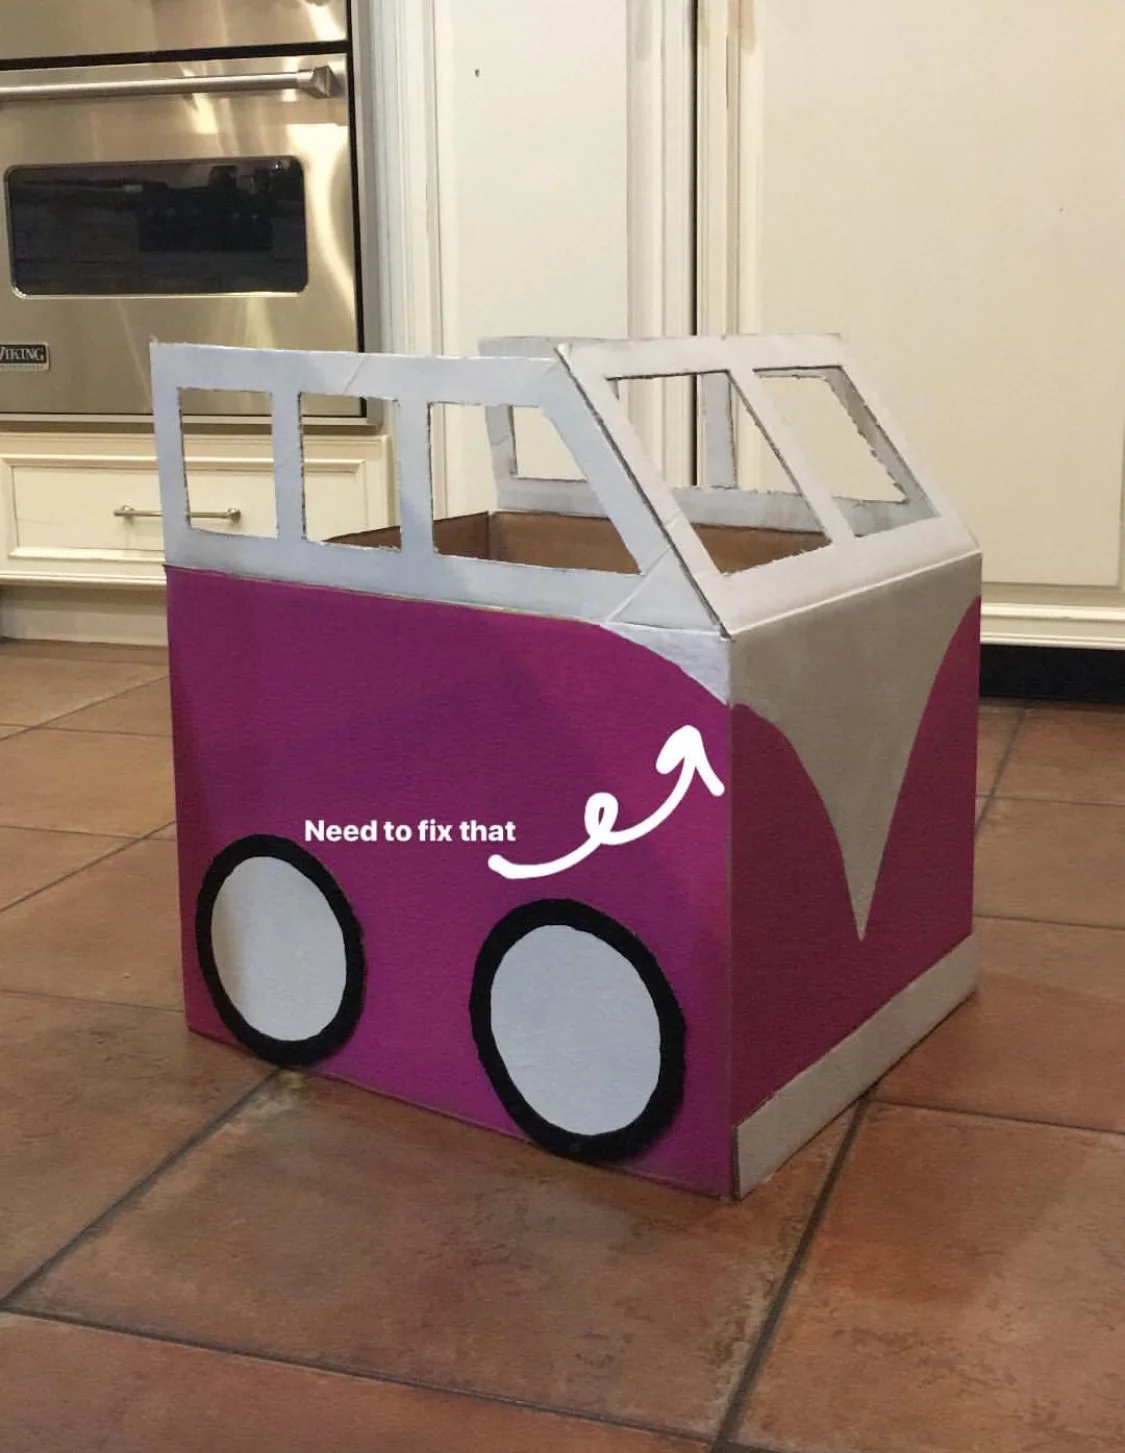
- Cut out the bottom of the box, so your kids can have their legs hanging out the bottom. Once you have done that, remove the top flap that you want to be the back of the car. You will be left with three flaps: one for windshield, two for windows.
- Using a straight edge or ruler, measure out 2-3 windows on the side flaps, along with 2 windows on the front flap of the car. I then used a box cutter to cut out windows. These measurements were hardly perfect. I basically eye-balled what looked symmetrical, so don't worry too much about measurements.
- I bent the front windshield inwards towards the center of the bus and angled it to my liking. I then used a pencil to draw a line where I wanted the side window flaps to meet the front window. Use scissors to cut along this edge (see picture above)
- Use hot glue to stick the front windshield to the side window flaps of the bus. Once this is dry secure with clear packaging tape on the inside of the car. This way you won't see all the tape.
- Quick tip: I painted the windows and windshield white before doing any gluing or taping so I wasn't painting over glue or tape.
ACCESSORIES:
- Using a bowl from my kitchen I traced out wheels and hot glued them to the sides of the car
- With left over scraps of cardboard, I cut a small rectangular shape out to make the license plate of the bus. This is where you can get creative to make the bus fit any theme!
- I used tin foil for the headlights of the car. Just cut out small circles and wrap them in tin foil before hot gluing them to each side of the front of the bus.
- For paint, I used all acrylic colors. This type of paint holds well on most surfaces
TRIAL AND ERROR:
- I got a little scissor happy in the beginning of starting this project, and wish I hadn't cut off so much! To start this project, all you need to do is cut out the bottom.
- I also tried to include my daughter in the painting and cutting process, but the inner perfectionist in me came out and repainted everything! LOL!
Girls leotards are from The Wishing Elephant


